But not everything went as smoothly as we would like... The dough turned out to be too soft, it was impossible to cut it, a kind of incomprehensible substance dripping with oil from all sides...
I realized my mistakes.
The recipe said to “knead a soft dough” - I kneaded it. But it turned out that I couldn’t roll the roll tightly from the soft dough. Moreover, I also “overdid it” with the oil. I smeared the layers with all my heart...
In general, after the first failure, I thought about whether to knead the dough again or just fry this meat and forget it all like a bad dream...
Well, no, I thought, when will I next have lamb?!
In general, I didn’t want to miss this opportunity and nevertheless decided to make a second batch, but knead the dough more tightly... And, naturally, less butter...
Well...it seems everything worked out...
This is how I prepared...
I was guided by two sources: this and this and my intuition...
For the test you will need:
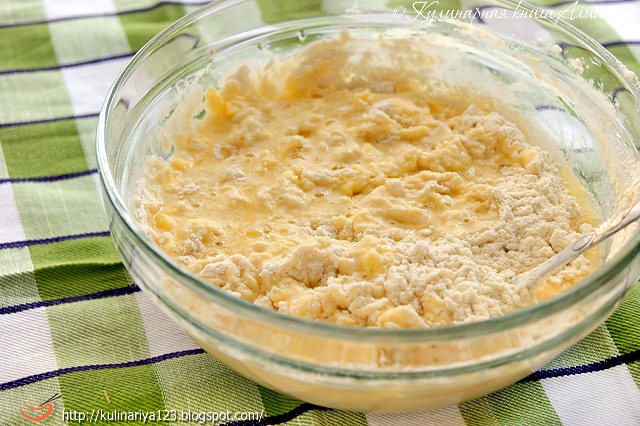
And she began to gradually add flour, stirring at the same time
When the dough became thick, I put it on the table and kneaded it into a dense dough 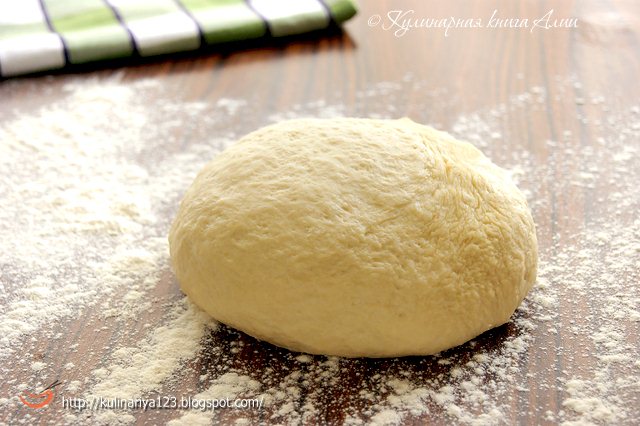
Divided it into three parts 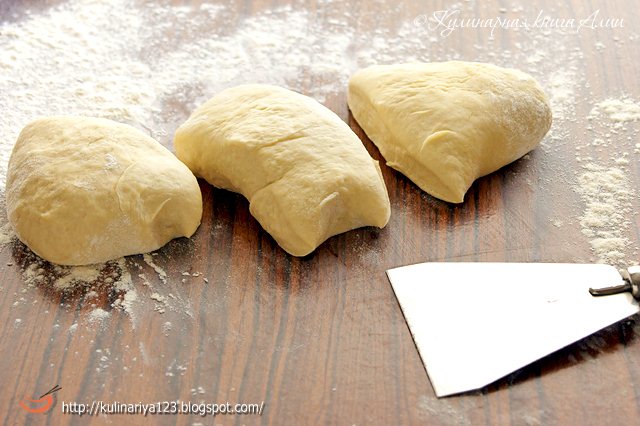
Rolled each part into a log 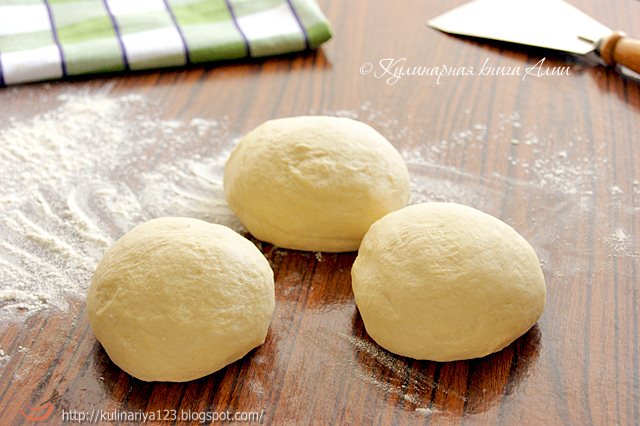
And left it on the table, covered with a napkin (according to the recipe for 20-30 minutes). And I got busy with the filling... 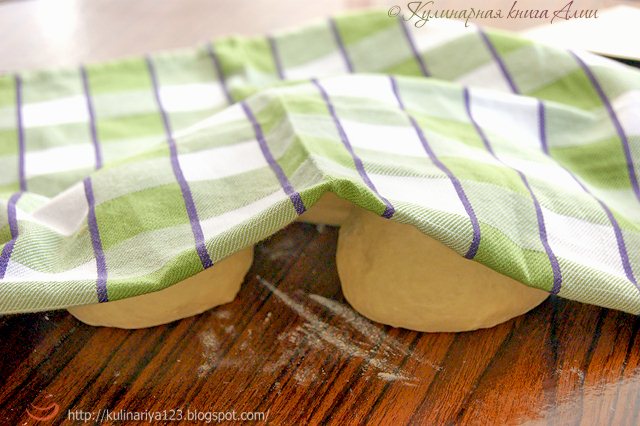
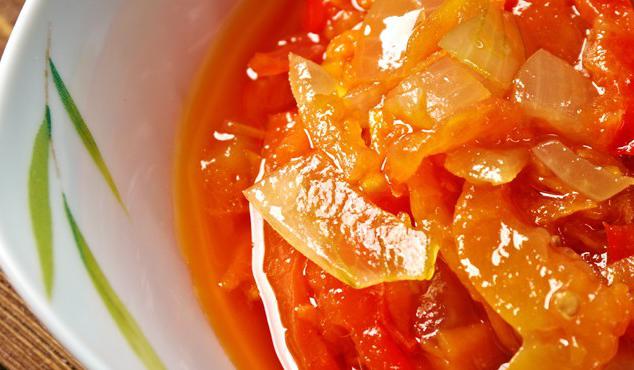
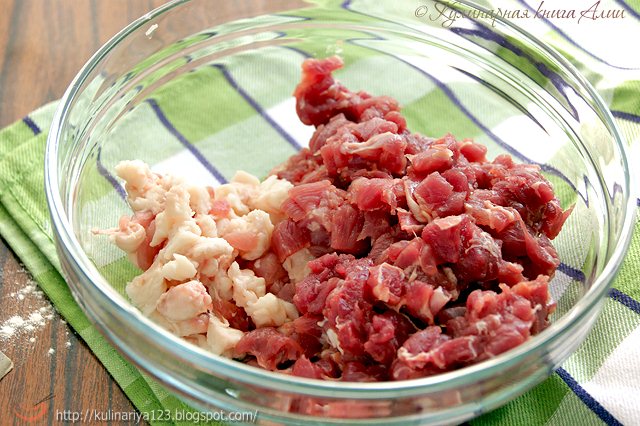
Filling:
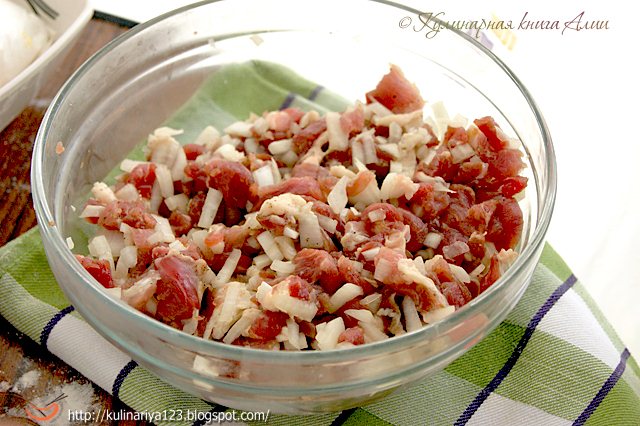
I took one bun and mixed it a little. Sprinkled the table with starch.
Secret! You need to roll out the dough using starch! (I don’t know why... But the dough turns out so smooth and tender!) 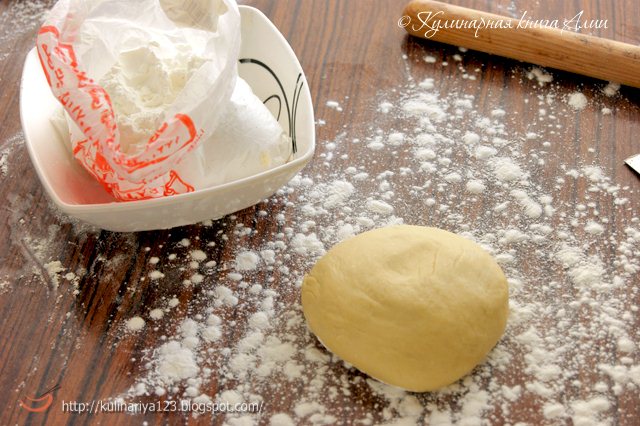
I rolled it out thinly (the recipe called for 2-3 mm). These are the hands of my daughter (8 years old) 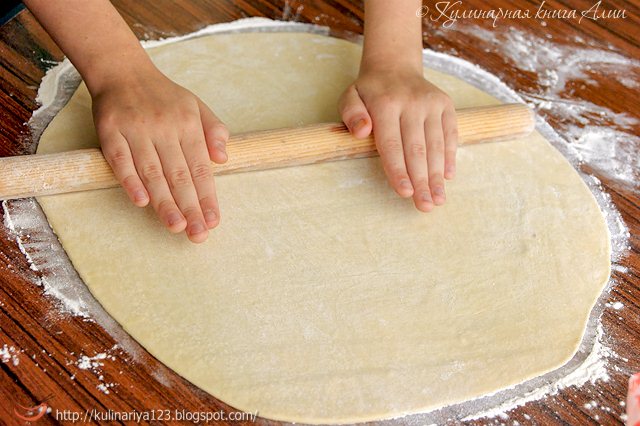
Melt the butter (no fat found), let it cool a little
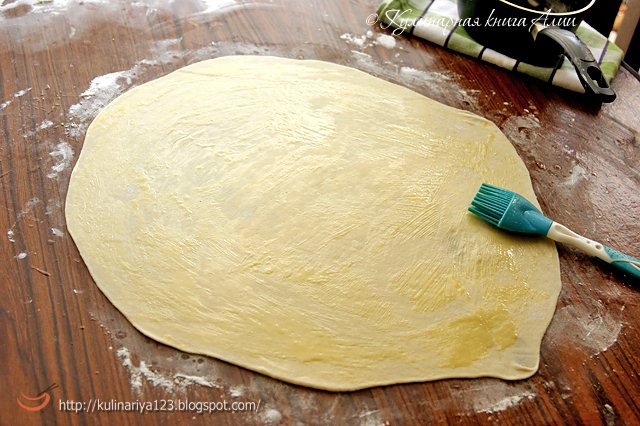
Rolled it out, wrapped it on a rolling pin and transferred it to the first layer of dough
. I also lubricated it with thin oil.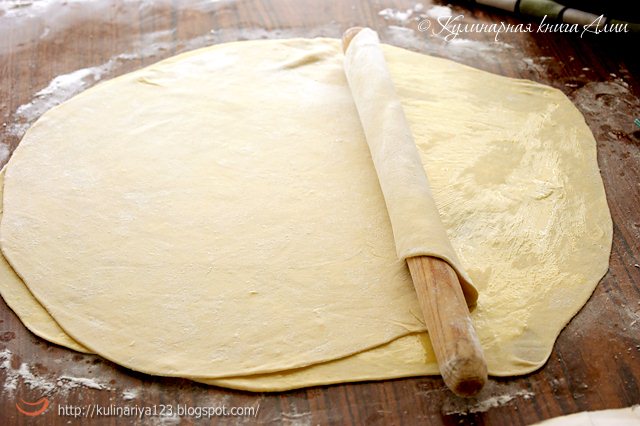
I rolled out the third layer, transferred it (if the diameter of the upper layer is smaller than the lower one, you can slightly tighten the dough with your hands) and greased it with oil.
Once the butter has frozen, we begin to roll the roll. 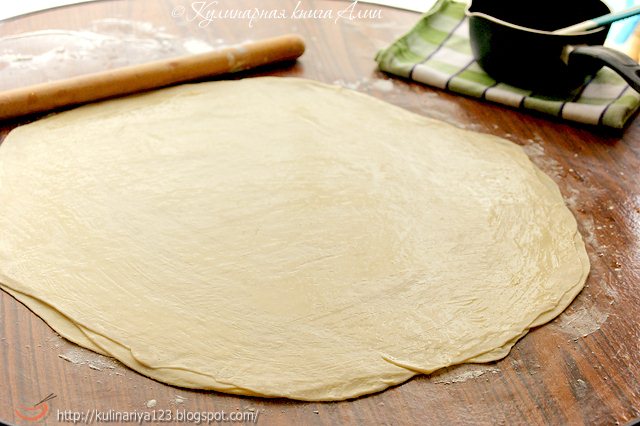

The ends still did not turn out tight due to the round shape of the layer. A rectangular layer would have spun better (but that’s how it is... thinking out loud...) 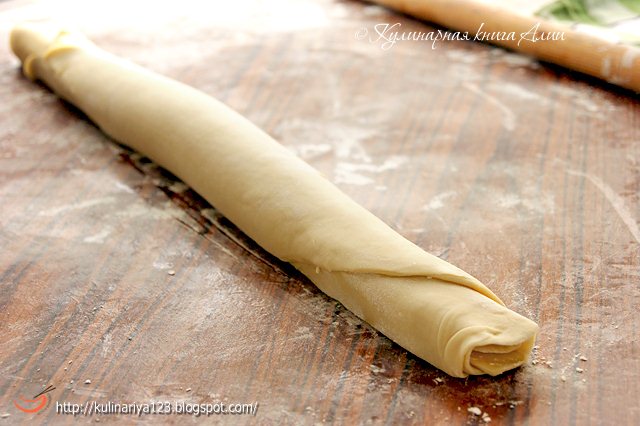
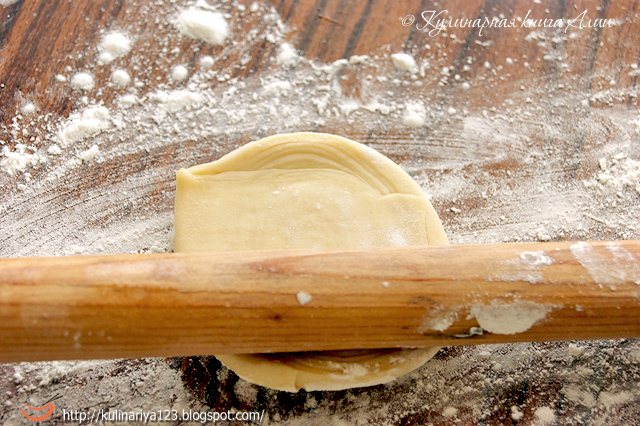
We start cutting pieces 1.5 cm thick from the middle with a sharp knife. 
Then we find the edge of the dough, unwind it a little 
and lay it on the cut (it will stick the layers together so that they don’t crawl apart)
Now, using a rolling pin on top, we carefully begin to roll out the cake.
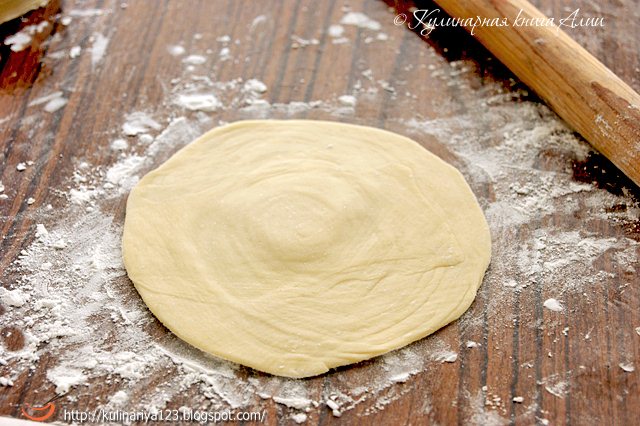
Here's the reverse side. Layers are visible in the middle, but not at the edges 
Place the filling on the side that we rolled out (1 tbsp) 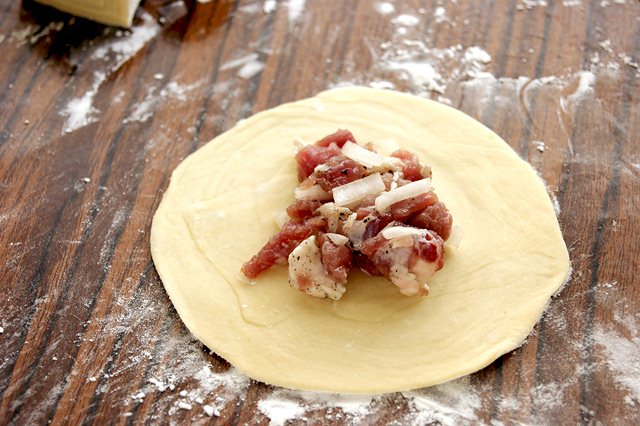
Pinching with a triangle
Here's the back side 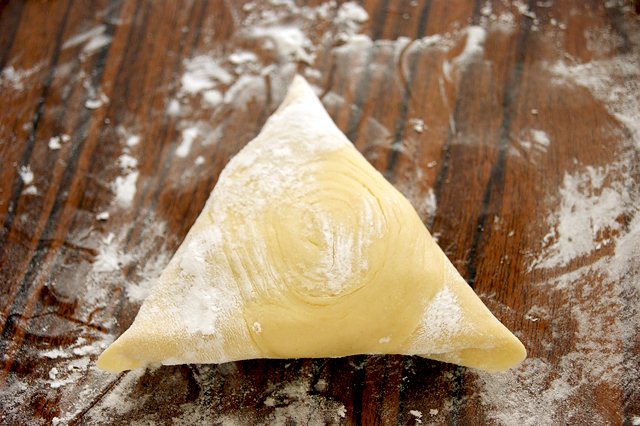
Place on a baking sheet lined with baking paper, seam side down. There is no need to lubricate with egg (or anything else)! Otherwise, the egg will flood the layers and they will no longer be so clear. 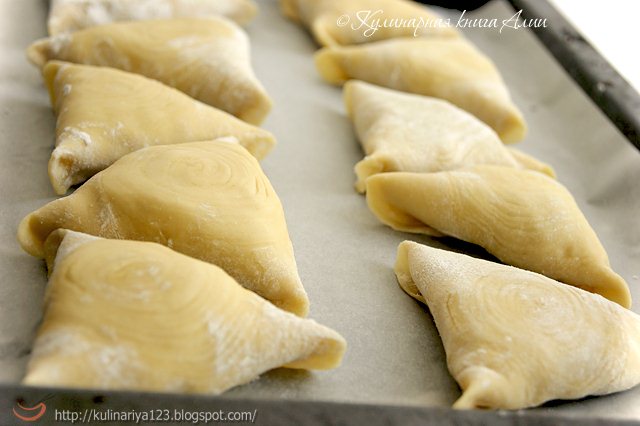
I baked at 200-220 C for 40 minutes. But about 15-20 minutes before the end of baking, I still couldn’t stand it and lightly brushed them with yolk diluted with water. Since the samushki were already puffed up and covered with a crust, I took the risk of smearing them so that the color would be more appetizing, rosy..
Place the finished samsa on a dish, you can cover it with a napkin

We all liked Samsa! This is delicious!
Bon appetit!
P.S. Thanks to the girls who taught me how to cook it!
Jazaki Allahu khairan, wow!